WordPress – Adding a Post to your website
5th November 2015
On your website, a WordPress ‘Post’ may be used to post news updates, new for sale adverts or to post special offers.
This guide will explain how to add or edit new posts.
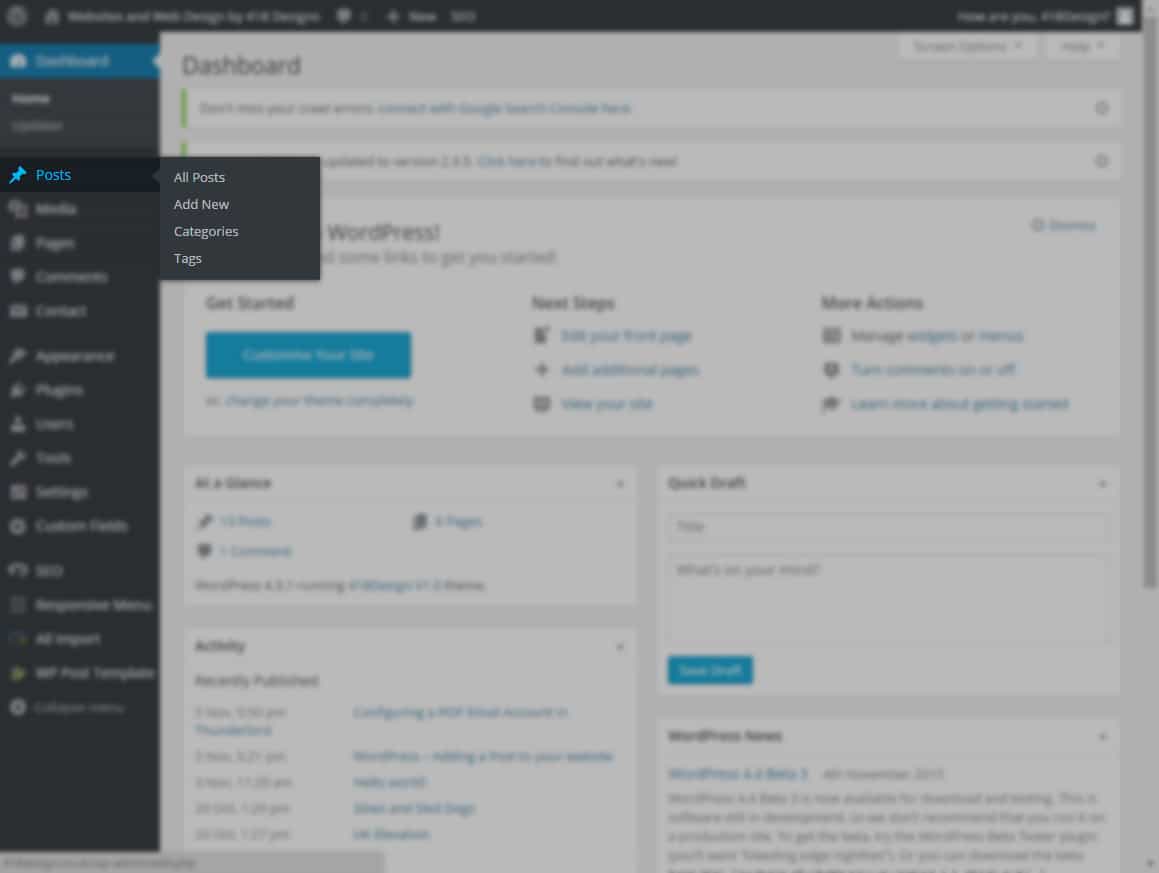
Once logged into your website hover your mouse over Posts in the menu on the left to see the available options.
- All Posts – Shows a list of all existing Posts on your site
- Add New – Takes you directly into creating a new post
- Categories – WordPress allows you to setup categories to organise your posts. These should be setup for you but feel free to add more!
- Tags – Tags make it easier for users (and search engines!) to find and index your posts. Create tags that are keywords for your posts and business and use them to ‘tag’ the relevant posts as you create them.
For now click the Add New link to start building your new post.
1) Add your Posts title
For example “Our New Website is now Online!”
2) Add your post content
In the large box add your posts actual content (the text and photos). You should aim for a minimum of a couple of lines of text here.
There are some tools available for you to format your posts such as bold and font sizes and the ability to create tables. For more information on that, click here.
3) Categories
Categories have 2 benefits. First, they simply allow you to organise each post you make on the site. Second and more importantly. They allow you to define where the post actually appears on your website. As you can see by the screenshot below, I have 2 blog categories on my website. If I write a guide and want that post to show up in the Guides section of my website then I must select the Web Design Guides check box under Categories.
4) Featured Image
Not used on all blogs but the Featured Image allows you to display an image with the post in the Categories/Main blog view of your site. On my blog its the little image next to each guide.
When choosing your Featured Image, try and find one roughly the same shape as the ones already displaying on your site.
5) Publish your post
This is where you save or update your post to put it live on your site. A feature that sometimes comes in handy here is the ability to delay posts from being published. Clicking the Edit link next to Publish Immediately will allow you to pick a date. The post wont appear on the site until that date and time.
If for any reason you need to save the post to work on later before putting it live on the site you can also change the Visibility to Private instead of the default Public setting. Hiding it from anyone but yourself.
Once you have been through all the steps above and clicked Publish/Update your blog post is ready and if done correctly should go a long way to helping with search engine rankings. Content is king when it comes to ranking. Google loves new content. For this reason its very important to blog and blog often.
If you use Facebook or Twitter another good tip is to Post a link to your blog articles rather than typing the News out again onto your social networks. This will drive traffic to your site!


