Basic Guide to speeding up WordPress
6th January 2020
This is by no means a complete guide to speeding up your WordPress website, but it will get you started and in a lot of cases do most of the work!
Start by testing your site with GTMetrix to get a baseline score
Click here to load GTMetrix Website Speed Tool
Image Optimisation with Shortpixel
First off is image optimisation. There are a number of options available for your WordPress website. My personal plugin of choice for this task is ShortPixel.
Shortpixel optimises 100 images a month for free but then you have to pay for extra credits. The good news is an extra 15,000 credits is less than £10!
Navigate to the Plugins menu and choose Add New. Search for Shortpixel and install it.
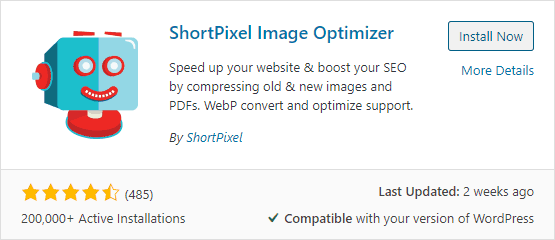
Once installed, you are required to enter an email address to obtain an API key. Like registering some new software.
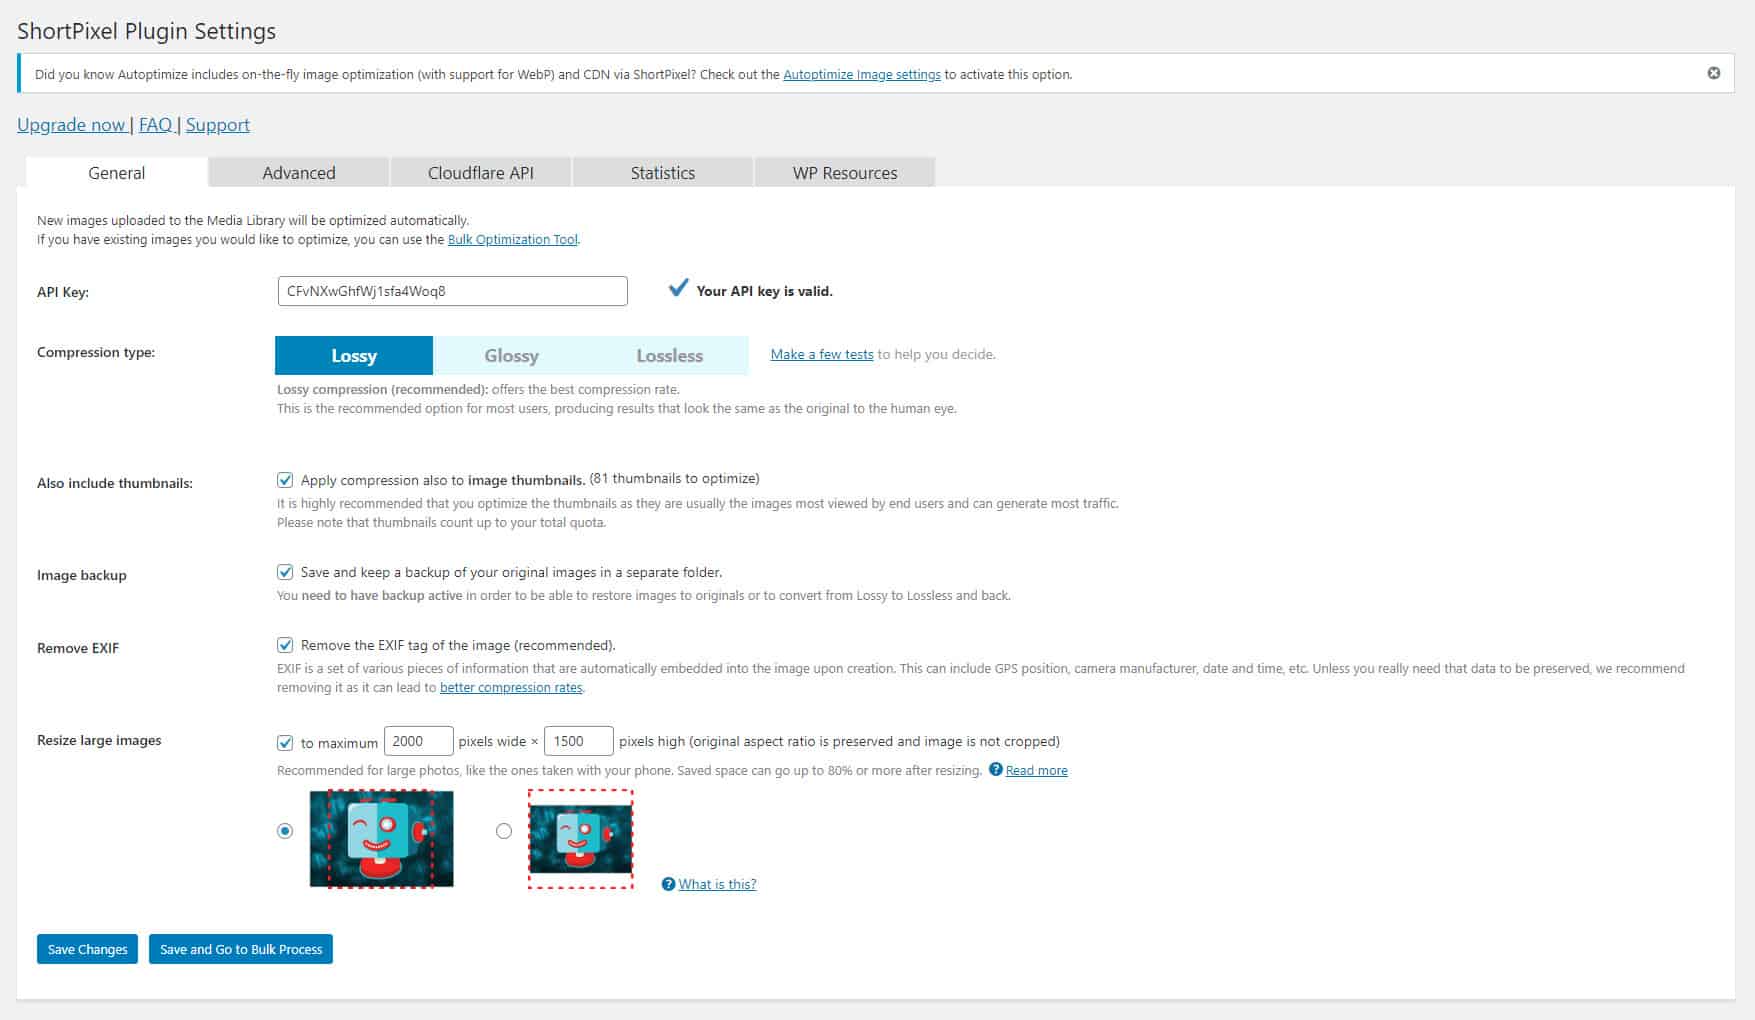
After entering your email you will be taken to the first of 2 settings pages.
On the first page the default options work well. The only thing I change is the ‘Resize Large Images’ option at the bottom. I like to set a max image size of 2000 pixels (bigger than the average screen resolution) with any images added to the site. A good move if you know images are being uploaded straight from a camera!
Shortpixel Plugin Settings Screenshot
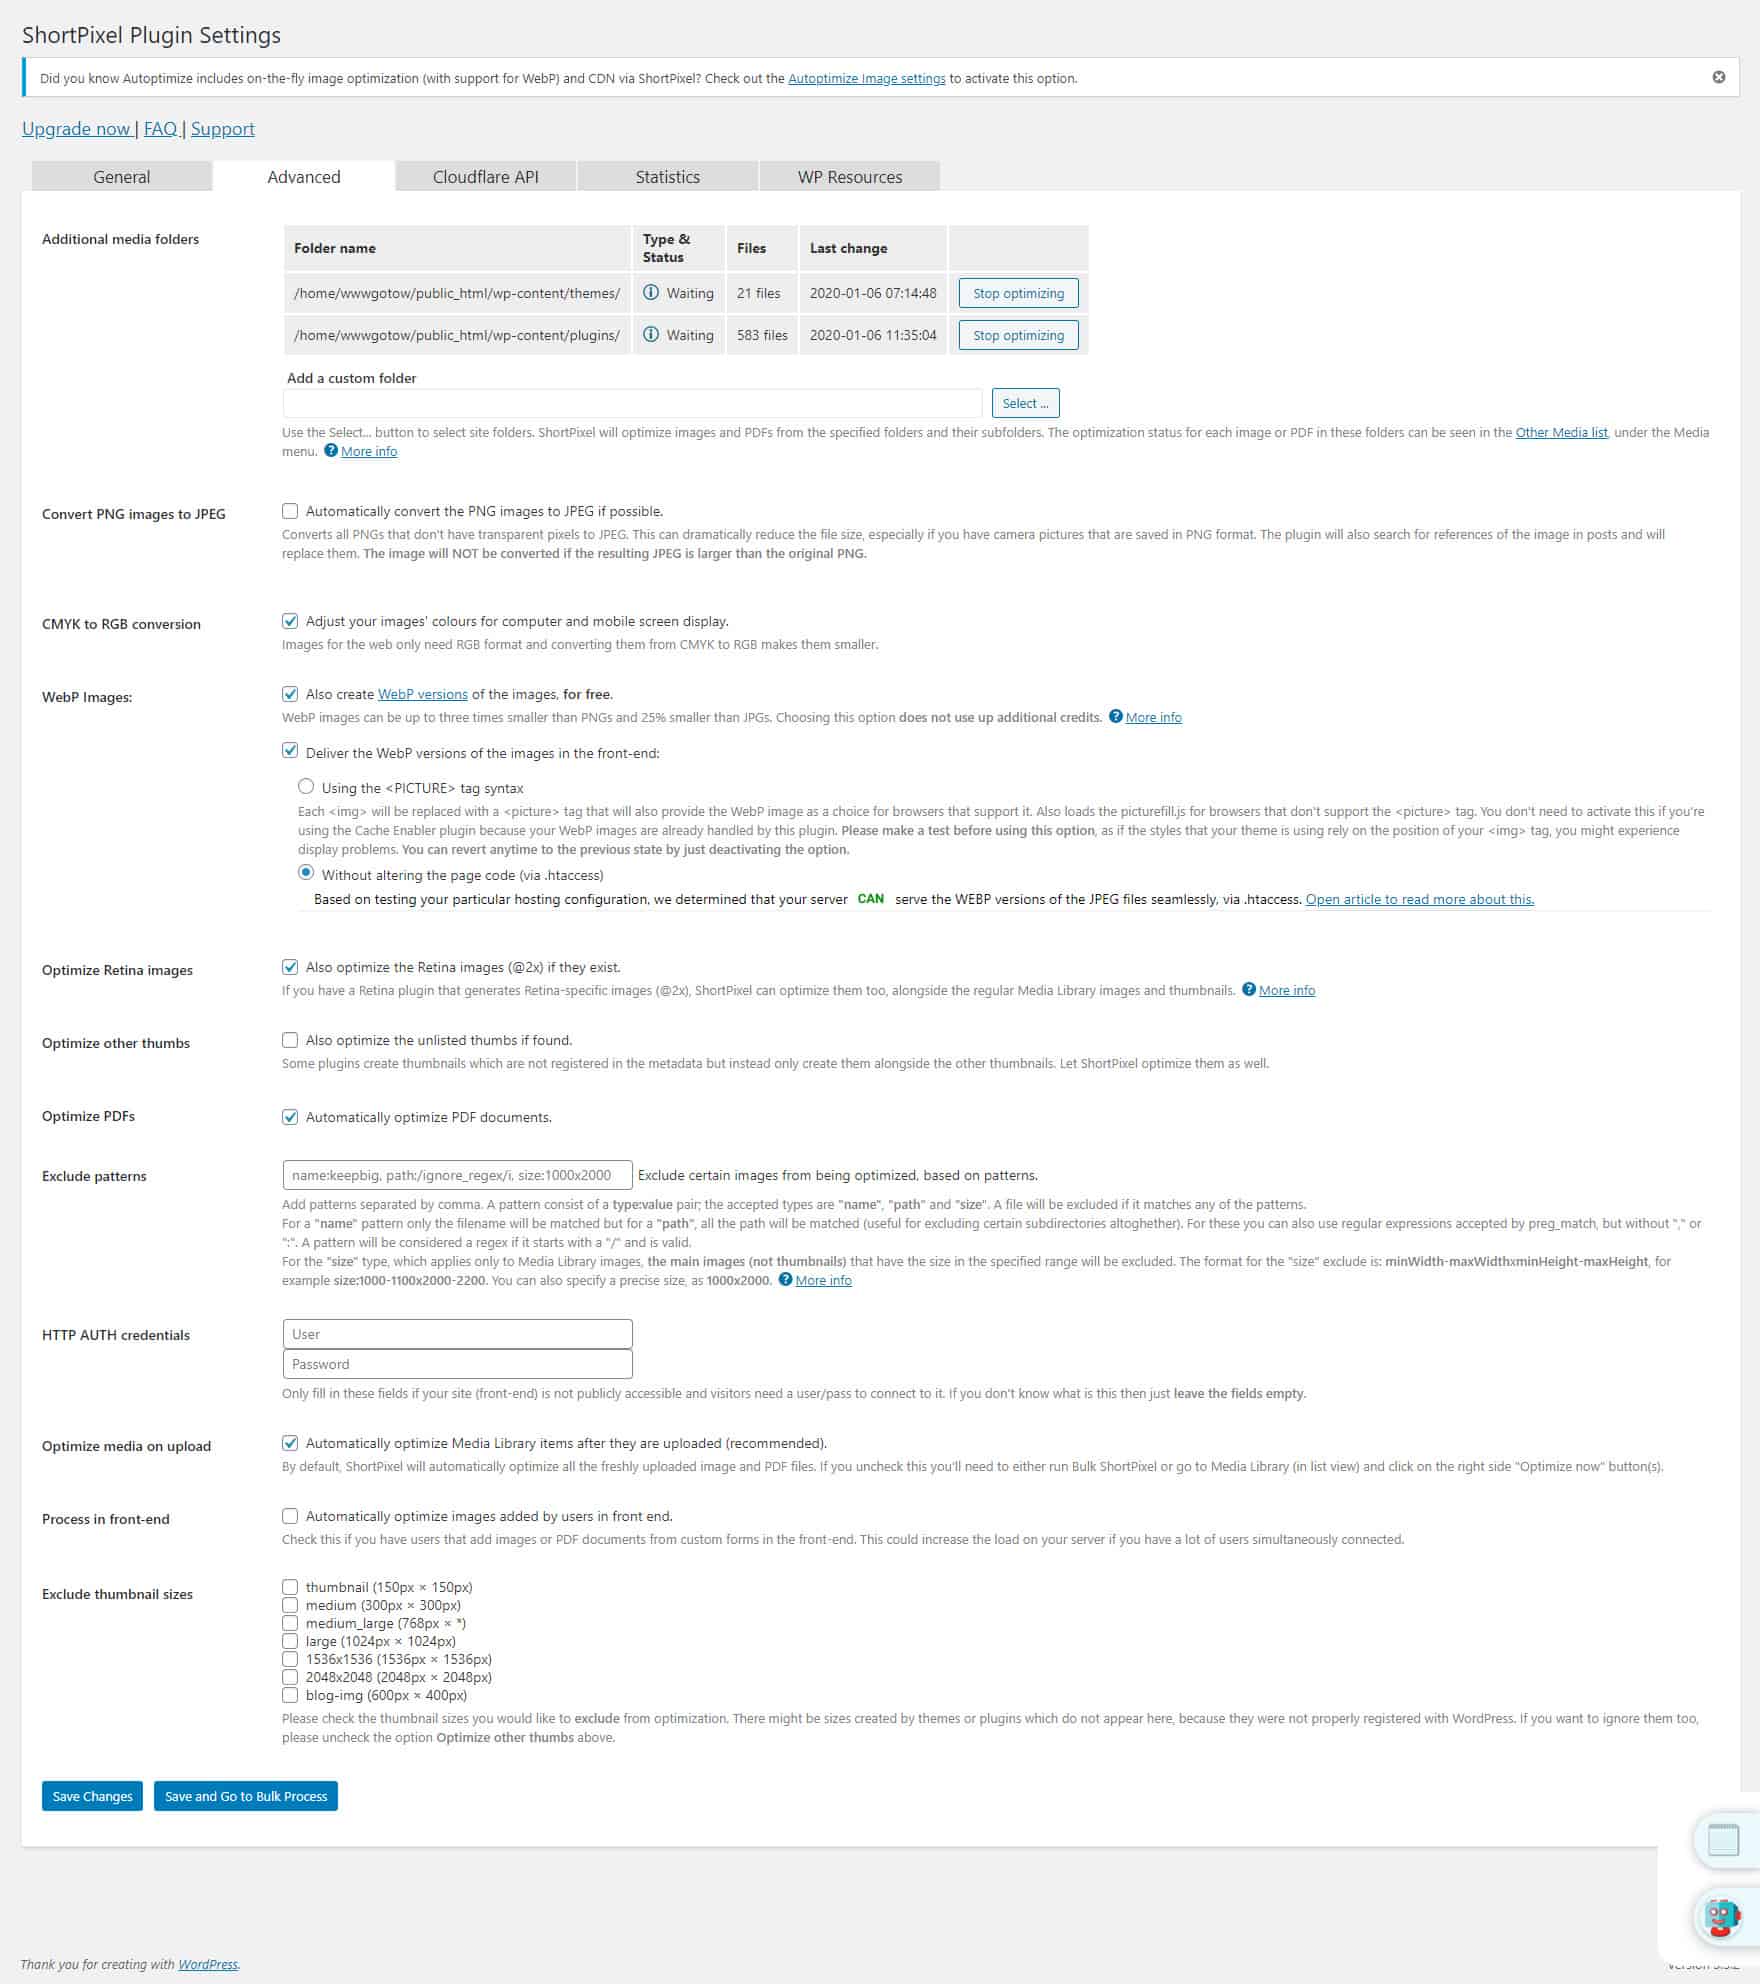
Next move onto the Advanced tab at the top of the page.
The first thing to do is add your theme and plugin folders to the optimisation process to ensure ALL images are optimised on the site.
This is done via the Additional media folders section
Click select folder and browse to wp-content/plugins click add folder.
Do the same for wp-content/themes
WebP Images
Next is web-p images. The new super internet friendly format for images. Its replaces jpg and png etc.
This will depend on your server setup but ideally you want to enable the creation of web-p images and also ‘Deliver the WebP versions of the images in the front-end’ should be enabled using one of the options.
Once done click Save and go to Bulk Process. You need to keep this window open whilst the process runs and it might take a while.
If you reach your monthly quota you will be prompted to pay for more credits. Payments can be made securely through Paypal.
Screenshot of Shortpixel Advanced Settings
Autoptimize and Minifying your site
Sounds complicated right? Its actually quite simple. Minifying is getting all the files (or as many as possible) that make up the site and merging them into one.
This means that when someone wants to view your site, they only have one file to download. Not several.
Go back to Plugins > Add new and search for and install Autoptimize
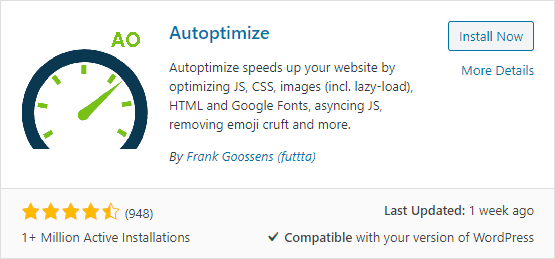
Once installed Autoptimize appears on the admin bar at the top of your site. Click on it to get to the options and set it up for your site.
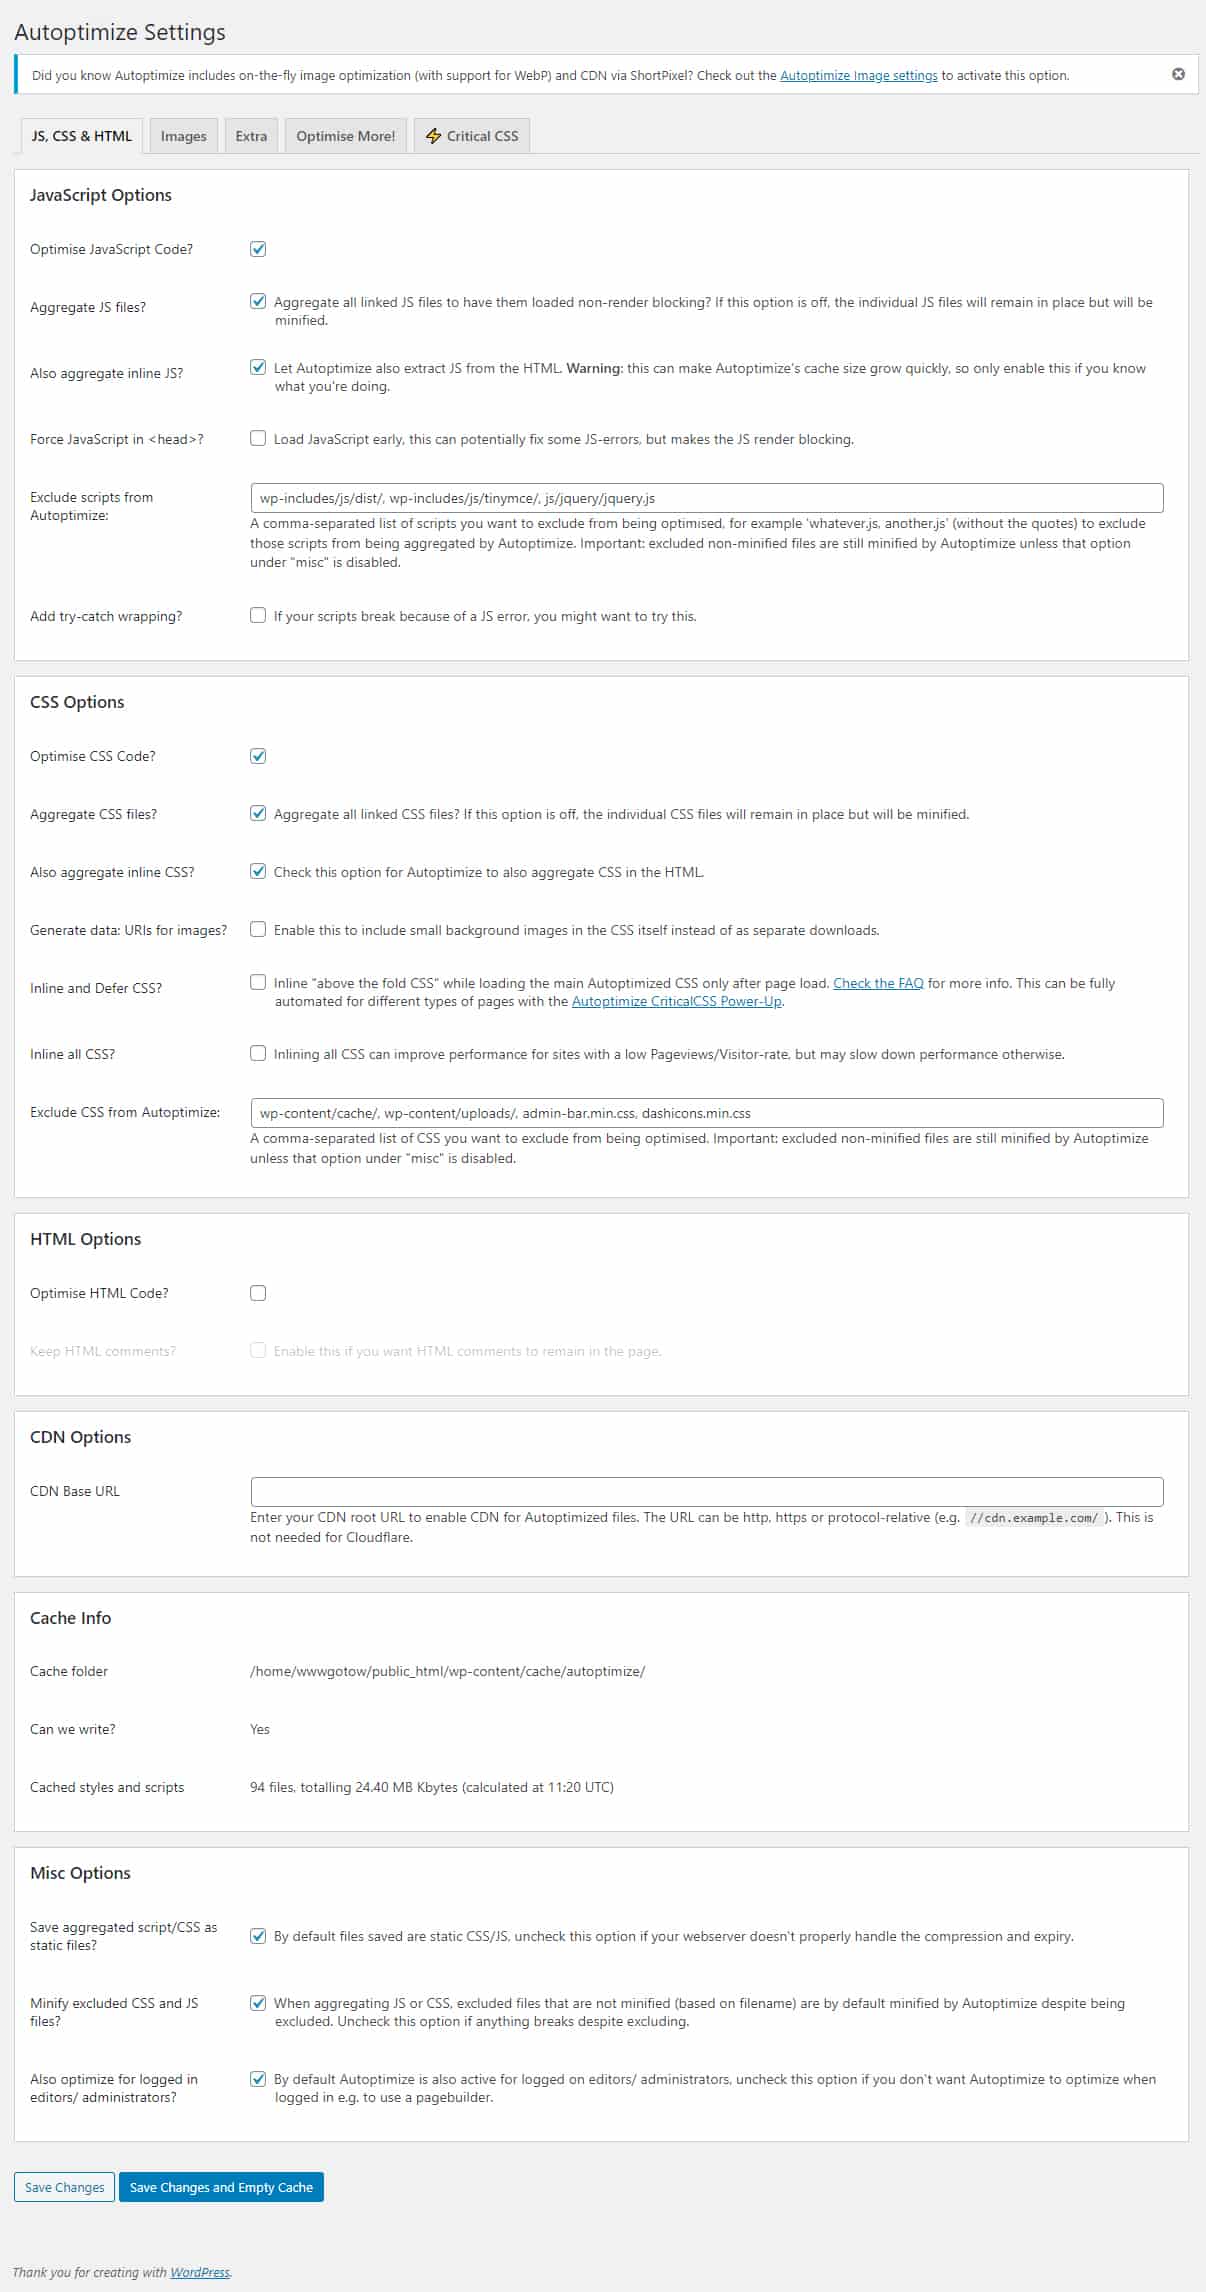
Autoptimize Settings to enable
Enable ‘Optimise Javascript Code?’
Enable ‘Aggregate JS Files’
Enable ‘Also aggregate inline JS?’
Scroll down to CSS options
Enable ‘Optimise CSS Code’
Enable ‘Aggregate CSS files?’
Enable ‘Also aggregate inline CSS?’
Scroll down to the bottom and click Save changes and Empty Cache, your done!
Screenshot of Autoptimize Settings
Try testing your site again with GTMetrix.
Finishing up
Its important to check your site and the functionality is still working as expected as these plugins do make some big changes. If there is any problem simply disabling them will revert you back to how the site was.
A common problem can be a script being minified causing it to no longer work. This can be a bit more involving but you need to work out which script file is the problem and exclude it in the Autoptimize settings. Contact me for more help if you get stuck! info@418design.co.uk